
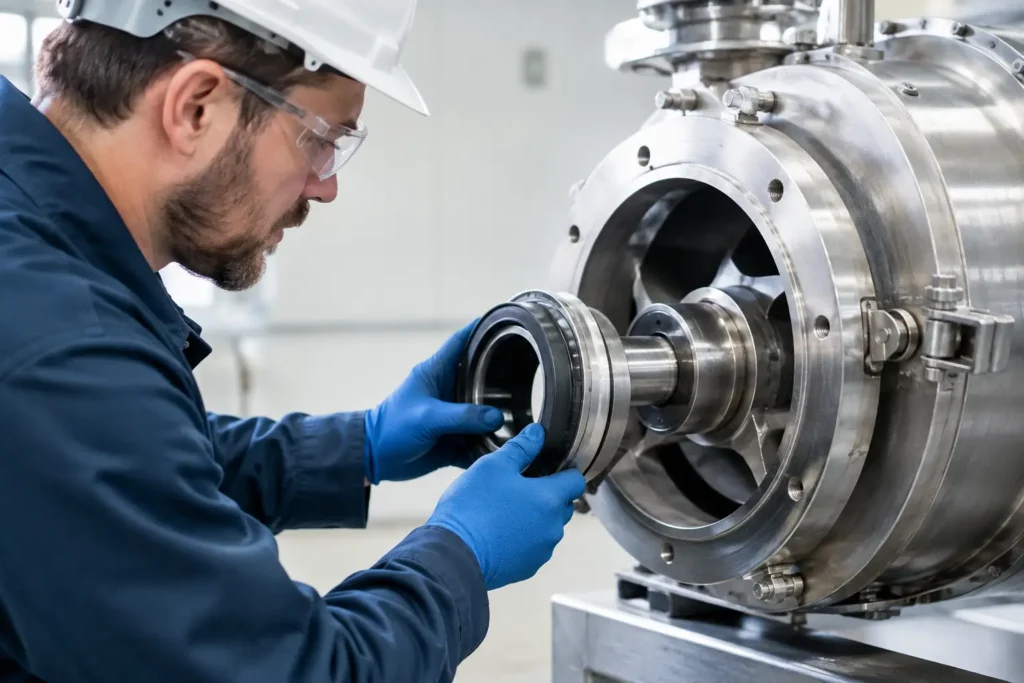
A leaking tank mixer is rarely just a housekeeping issue. Product loss, vapor exposure, bearing damage, batch contamination, and an unplanned outage can all begin at the shaft seal. Effective mixer seal replacement starts before a technician removes the old assembly: the plant must identify what failed, confirm the process conditions, and install a seal designed for the actual duty.
For mechanical mixers, the seal is a controlled barrier between the rotating shaft and the vessel atmosphere. It must tolerate shaft movement, pressure, temperature, chemical exposure, washdown, and the operating behavior of the mixer itself. Replacing a seal with the same part number can be appropriate, but only when the original selection was correct and the failure was caused by normal wear rather than a process or mechanical issue.
Diagnose the Failure Before Mixer Seal Replacement
The leak pattern often provides the first useful clue. A slow, stable drip on an older packed seal may be within the expected operating condition, depending on the service and seal design. A sudden increase in leakage, visible scoring on the shaft sleeve, discolored faces, or leakage immediately after startup points to a different problem.
Mechanical seals commonly fail because of dry running, inadequate flush or barrier fluid, abrasive solids, chemical attack, pressure excursions, thermal cycling, or shaft deflection. Packing failures can result from over-tightening, incorrect packing material, worn sleeves, excessive shaft runout, or a gland that was tightened to stop leakage instead of adjusted for controlled lubrication and cooling.
Do not assume that every leak is a seal failure. Inspect the seal housing, vessel nozzle, mounting flange, shaft sleeve, impeller balance, bearing condition, and gearbox or drive alignment. A worn bearing can permit radial movement that quickly damages new seal faces. A bent shaft, distorted mounting plate, or vessel movement may produce the same result. Installing a new seal without correcting those conditions simply restarts the failure cycle.
Record the Operating Conditions
Before ordering replacement parts, document the fluid, concentration, temperature range, vessel pressure or vacuum, mixer speed, shaft diameter, and seal arrangement. Include whether the unit is operated continuously, intermittently, at variable speed, or through frequent starts and stops.
This information matters because seal materials are application-specific. A seal that performs well in a neutral water-based blend may not survive a solvent, caustic, acid, slurry, polymer, or high-temperature oil service. Elastomer compatibility, face material, metal alloy, spring design, and secondary sealing geometry all affect service life.
For sanitary processing, the replacement must also meet the required finish, cleanability, elastomer requirements, and cleaning cycle. For hazardous or volatile chemicals, the question extends beyond leakage rate to vapor containment, emissions control, operator exposure, and whether a single or double mechanical seal arrangement is required.
Select the Right Replacement Seal Arrangement
There is no universal industrial mixer seal. The proper arrangement depends on process risk, fluid behavior, vessel configuration, and maintenance strategy.
Packing remains a practical option for certain tank-mixing applications. It is serviceable, relatively tolerant of shaft movement, and may be suitable where a small amount of controlled leakage is acceptable. Its limitations are equally clear: packing creates friction, requires adjustment, and is not the preferred answer for clean, hazardous, high-value, or zero-visible-leakage duties.
A single mechanical seal is frequently selected for contained liquid services where process pressure, temperature, and fluid characteristics remain within the seal’s limits. It provides a cleaner barrier than packing, but it still depends on proper face lubrication, shaft condition, and installation control.
Double mechanical seals provide another level of containment for difficult chemicals, volatile fluids, toxic products, and services where environmental release is unacceptable. These arrangements require a compatible barrier or buffer fluid system and disciplined monitoring. The higher initial cost and support requirements are justified when the consequence of seal leakage is high.
For mixers handling abrasive slurries or solids-bearing liquids, consider face materials, flush plans, seal chamber design, and shaft protection together. Hard faces may resist wear, but they do not solve a process condition that allows solids to pack around the seal. A properly engineered flush or quench can be more valuable than simply selecting a harder material.
Prepare the Mixer for Seal Replacement
Lockout, isolation, vessel depressurization, draining, and decontamination come first. The level of preparation should match the chemical hazard and site procedures. A seal replacement is not the time to discover residual pressure, trapped vapor, or incompatible cleaning chemicals.
Once the mixer is safe to access, verify the equipment identification and replacement components against the documented dimensions. Measure the shaft and sleeve condition rather than relying only on the original drawing. Look for corrosion, grooving, pitting, fretting, and evidence that the sleeve has rotated on the shaft.
Check shaft runout at the seal location and inspect bearing play before installing the new components. Mechanical seals are precision assemblies. Excessive runout or axial movement can prevent the faces from maintaining the stable film they need to operate. If shaft movement is outside the equipment manufacturer’s allowable range, correct the mechanical issue before proceeding.
Cleanliness matters. Remove product residue, old gasket material, and deposits from the seal chamber and shaft. Keep seal faces clean and protected. A small scratch, embedded grit, or damaged elastomer can shorten the service life of a new assembly before the mixer returns to production.
Installation Details That Protect Seal Life
Follow the seal manufacturer’s setting dimensions and installation sequence exactly. Cartridge seals simplify installation because they establish critical face settings at the factory, but the cartridge must still be mounted squarely, secured correctly, and released according to instructions after installation.
Lubricate elastomeric components only with an approved lubricant for the process and elastomer material. Petroleum-based lubricants, for example, may be unsuitable for some elastomers or sanitary applications. Never force a seal over a sharp shaft keyway, burr, thread, or damaged sleeve edge. Use an installation sleeve or protect the shaft surface as required.
Confirm that gland bolts are tightened evenly. Uneven loading can distort the gland or cause poor gasket compression. Reconnect flush, quench, cooling, or barrier-fluid lines with the correct flow direction and verify that all support connections are clean. An incorrectly connected line can leave a high-value double seal without the protection it was selected to provide.
Before startup, rotate the shaft by hand when safe and practical. The assembly should turn without binding. Reinstall guards, verify coupling alignment if the drive train was disturbed, and confirm that the vessel level and process conditions are suitable for startup.
Start Up Slowly and Monitor the First Run
The first operating period is where installation quality becomes visible. Start the mixer under normal process conditions whenever possible, while watching for abnormal leakage, heat, noise, vibration, or pressure changes in the support system.
Mechanical seal faces may require a brief run-in period, but significant leakage should not be dismissed as normal. For packed seals, adjust the gland gradually and avoid over-tightening. Packing needs limited leakage in many services to lubricate and cool the interface. Tightening it aggressively may stop visible dripping temporarily while accelerating sleeve wear and heat buildup.
Record the initial operating condition after replacement. Maintenance teams benefit from noting vibration, seal temperature where measured, barrier-fluid level or pressure, leakage observations, and operating speed. These baseline observations make it easier to detect deterioration during routine rounds.
Build Seal Reliability Into the Maintenance Plan
A seal is a wear component, but premature failure is usually a system problem. Review recurring failures by mixer location, product, service hours, and failure mode. Patterns can reveal that a particular batch runs dry during transfer, a variable-frequency drive creates a problematic low-speed condition, or a cleaning cycle exceeds the elastomer temperature limit.
Keep critical seal kits, sleeves, gaskets, and support-fluid components available for mixers that constrain production. For custom or corrosive service, confirm lead time before an outage forces the issue. Ready-to-ship components are valuable, but the replacement still has to match the application, connection geometry, and material requirements.
ProMixUSA supports industrial mixing systems where seal selection must work with the vessel, drive, impeller, chemistry, and operating objective. When leakage is recurring or the process is changing, treat the replacement as an engineering decision rather than a parts swap. The right inspection and seal arrangement can turn a recurring shutdown point into a controlled, dependable part of the mixing system.